Scalable data warehousing on self-hosted object storage with Oxla and MinIO
When it comes to building scalable, cost-efficient analytics systems, object storage has become a game-changer. Unlike traditional block or file storage, object storage is designed for massive scalability, built-in durability, and simplified management. It makes it easy to handle growing datasets without the complexity or cost of scaling block devices or network file systems.
Historically, using object storage meant relying on hyperscalers like AWS, Azure, or GCP. However, with MinIO and other S3-compatible storage backends, you can bring object storage to any infrastructure.
In this guide, we’ll walk through how to pair Oxla with MinIO to create a powerful, resource-efficient data warehouse that runs on any distributed file system, whether on-premises or in the cloud.
This guide assumes a simplified setup with a single-node MinIO instance for demonstration purposes. For production environments, we recommend a multi-node MinIO deployment with proper load balancing and backups. The setup process for Oxla remains the same.
Setting Up MinIO
Step 1: Start the MinIO Service
To begin integrating MinIO with Oxla, first make sure MinIO is installed and running on your system. If you haven't installed it yet, review the MinIO Single-Node Single-Drive documentation for installation instructions. Once installed, start the MinIO service with:
sudo systemctl start minio.serviceThis activates MinIO, allowing you to access its web console and configure settings like access keys and buckets.
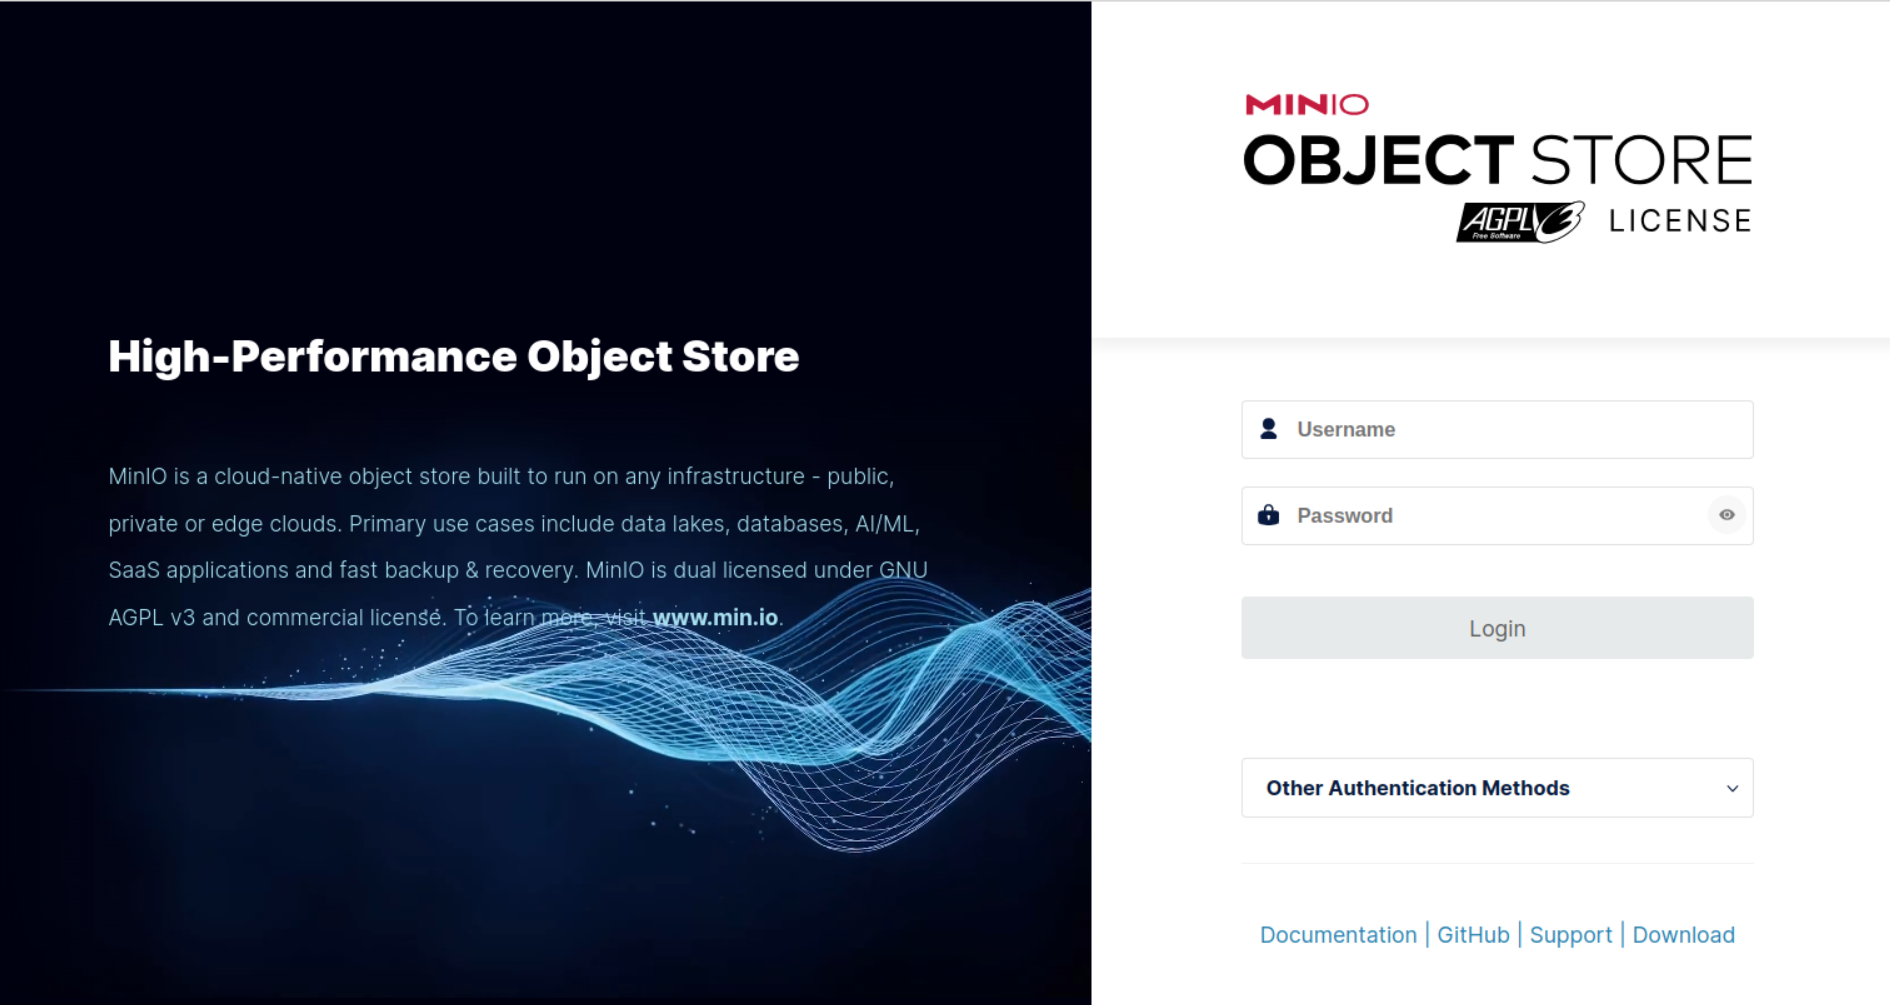
Step 2: Access the MinIO Console
Once MinIO is running, open your web browser and navigate to localhost:9001. Log in using your MinIO credentials to access the dashboard. From here, you can manage buckets, access keys, and other essential settings.
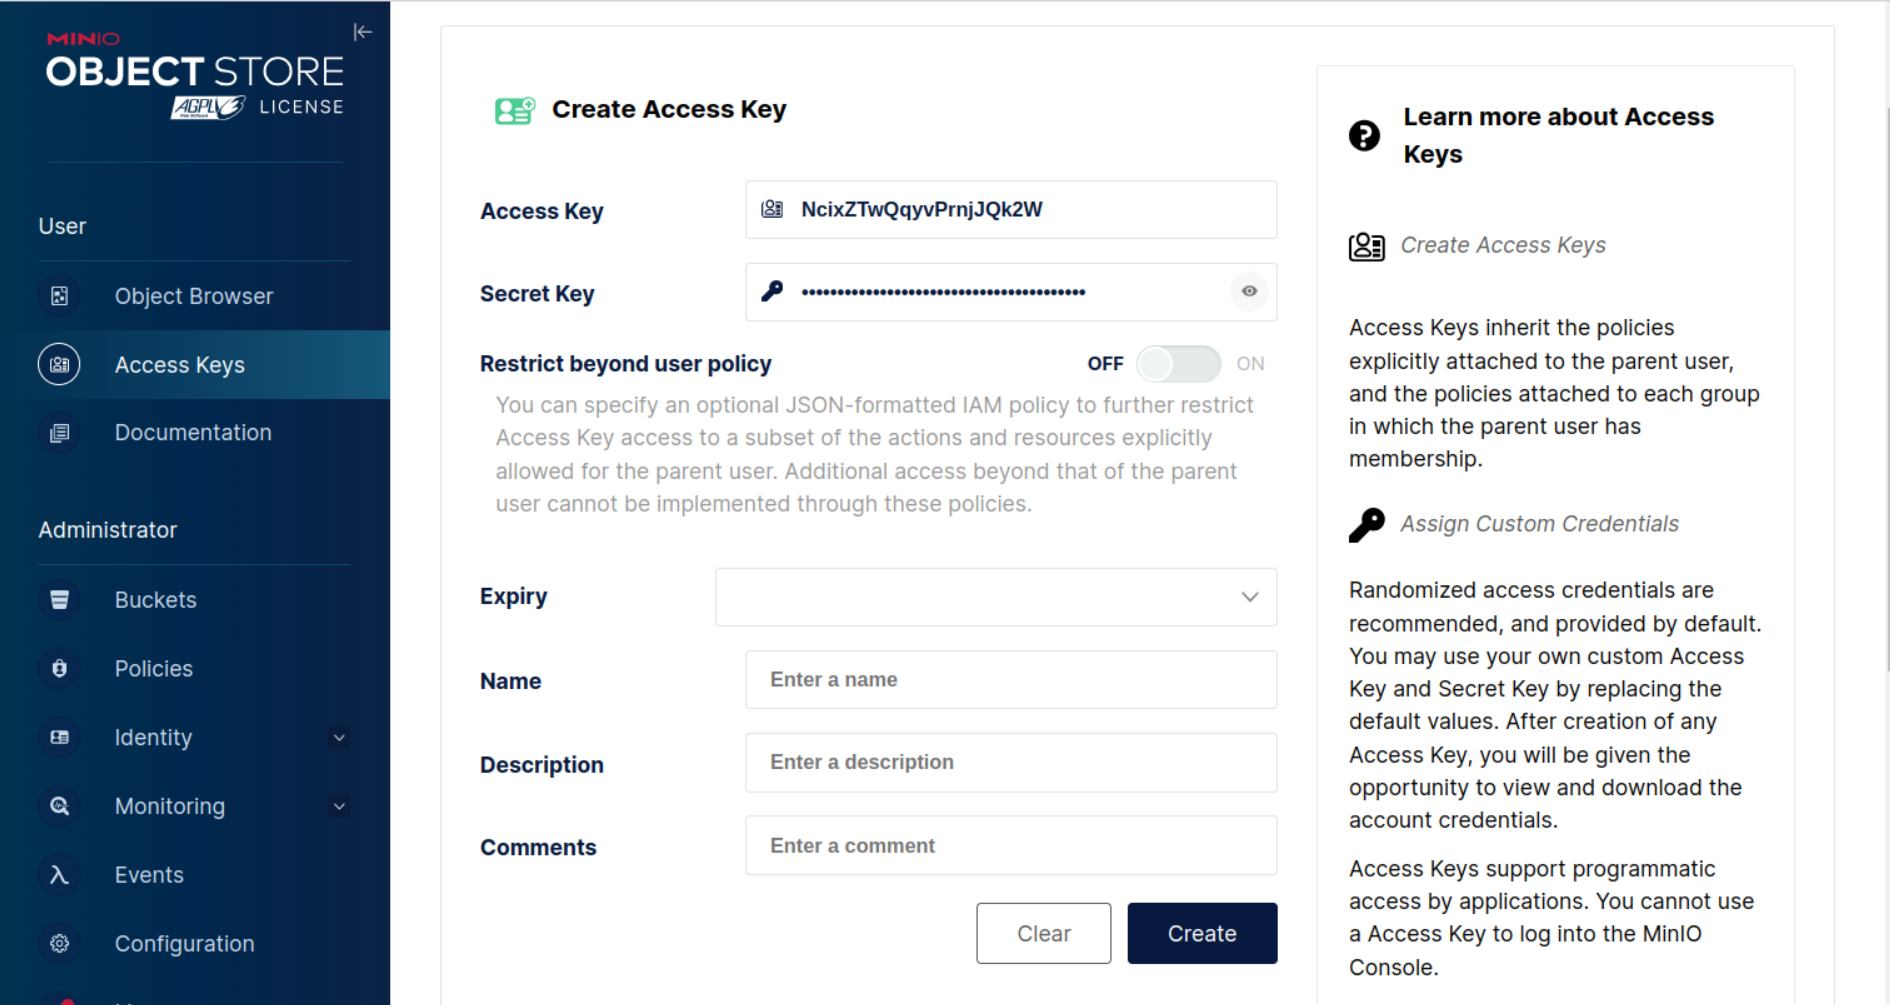
Step 3: Create Access Keys
Next, create the access keys that Oxla will use to authenticate with MinIO.
In the MinIO console, go to Access Keys and select Create access key. You can auto-generate the keys or specify custom values. After creating them, securely save the credentials — you'll need them when configuring Oxla.
Step 4: Create a Bucket
Finally, create a bucket in MinIO to store Oxla data.
In the console, go to Buckets and select Create Bucket. Give the bucket a unique, descriptive name (e.g., oxla-bucket) and click Create.
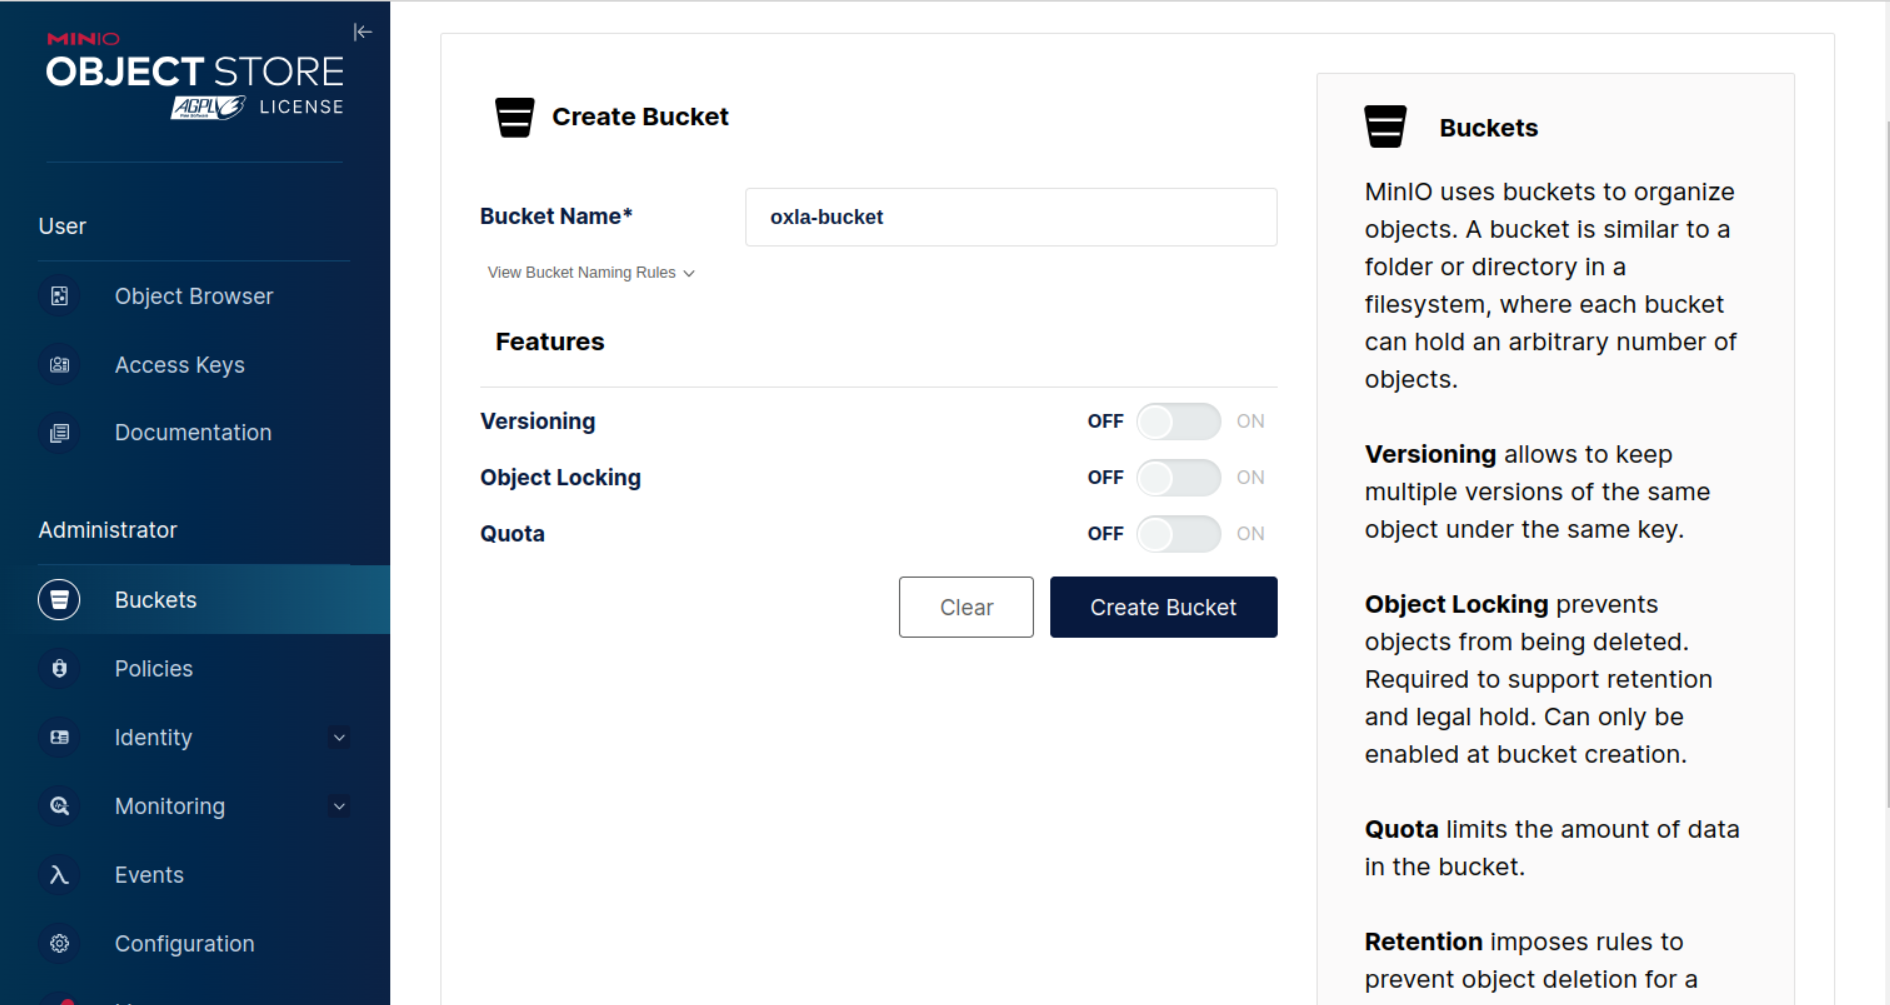
Make sure the bucket is either completely empty or contains only files in Oxla's format.
Running the Oxla Docker container
Next up, we're going to deploy Oxla in a 3-node setup using Docker. Containerization makes it easy to deploy, manage resources, and scale your setup with minimal overhead.
Before getting started, make sure Docker is installed on your system. If not, refer to Docker’s installation guides to get set up.
Once Docker is ready, you’ll configure and run a 3-node Oxla cluster using a Compose YAML file.
Let’s jump into the steps to get your multi-node Oxla cluster up and running!
Step 1: Create Docker Compose file
Start by creating the following Docker Compose configuration file:
vim oxla_3_node_config.yamlPaste the following content into the file:
services:
  oxla_node_1:
    image: public.ecr.aws/oxla/release:latest
    ports:
      - 5432:5432
    environment:
      - HOST_NAME=oxla_node_1
      - OXLA_NODES=${COMPOSE_PROJECT_NAME}-oxla_node_1-1;${COMPOSE_PROJECT_NAME}-oxla_node_2-1;${COMPOSE_PROJECT_NAME}-oxla_node_3-1
      - OXLA_HOME=s3://oxla-bucket/
      - AWS_ACCESS_KEY_ID={MINIO_ACCESS_KEY}
      - AWS_SECRET_ACCESS_KEY={MINIO_SECRET_KEY}
      - LOG_LEVEL=Debug
      - STORAGE__S3__ENDPOINT=http://172.17.0.1:9000
      - LEADER_ELECTION__LEADER_NAME=oxla_node_1

  oxla_node_2:
    image: public.ecr.aws/oxla/release:latest
    ports:
      - 2543:5432
    environment:
      - HOST_NAME=oxla_node_2
      - OXLA_NODES=${COMPOSE_PROJECT_NAME}-oxla_node_1-1;${COMPOSE_PROJECT_NAME}-oxla_node_2-1;${COMPOSE_PROJECT_NAME}-oxla_node_3-1
      - OXLA_HOME=s3://oxla-bucket/
      - AWS_ACCESS_KEY_ID={MINIO_ACCESS_KEY}
      - AWS_SECRET_ACCESS_KEY={MINIO_SECRET_KEY}
      - LOG_LEVEL=Debug
      - STORAGE__S3__ENDPOINT=http://172.17.0.1:9000
      - LEADER_ELECTION__LEADER_NAME=oxla_node_1

  oxla_node_3:
    image: public.ecr.aws/oxla/release:latest
    ports:
      - 3544:5432
    environment:
      - HOST_NAME=oxla_node_3
      - OXLA_NODES=${COMPOSE_PROJECT_NAME}-oxla_node_1-1;${COMPOSE_PROJECT_NAME}-oxla_node_2-1;${COMPOSE_PROJECT_NAME}-oxla_node_3-1
      - OXLA_HOME=s3://oxla-bucket/
      - AWS_ACCESS_KEY_ID={MINIO_ACCESS_KEY}
      - AWS_SECRET_ACCESS_KEY={MINIO_SECRET_KEY}
      - LOG_LEVEL=Debug
      - STORAGE__S3__ENDPOINT=http://172.17.0.1:9000
      - LEADER_ELECTION__LEADER_NAME=oxla_node_1
Save the file and exit the editor by typing :wq and pressing Enter.
Tip: Replace the placeholders with your actual values:
{MINIO_ACCESS_KEY}– your MinIO access key{MINIO_SECRET_KEY}– your MinIO secret keySTORAGE__S3__ENDPOINT– Docker bridge IP (e.g.,172.17.0.1)
These values are critical for connecting Oxla to your MinIO storage backend.
Environment variables explained
Below is a breakdown of the environment variables used in your Docker Compose file:
HOST_NAME: Unique identifier for each Oxla node in the clusterOXLA_NODES: Semicolon-separated list of all nodes participating in the clusterOXLA_HOME: Root path for Oxla's data in the MinIO bucketAWS_ACCESS_KEY_ID/AWS_SECRET_ACCESS_KEY: Credentials for authenticating with MinIOSTORAGE__S3__ENDPOINT: URL of the MinIO service (e.g.,http://172.17.0.1:9000)LEADER_ELECTION__LEADER_NAME: Hostname of the cluster’s leader node (must match the leader’sHOST_NAME)
Step 2: Run Docker Compose
Once the YAML file is ready, use Docker Compose to launch the cluster:
docker compose -f oxla_3_node_config.yaml upThis command initializes and starts the Oxla nodes defined in your configuration.
Docker Compose reads the YAML, spins up three Oxla containers (oxla_node_1, oxla_node_2, and oxla_node_3), and configures them using the environment variables and port mappings you defined.
Each node runs in its own container, and Docker Compose manages the networking, allowing the nodes to form a functioning cluster.
This setup distributes your Oxla workload across multiple nodes — ideal for scaling and performance testing.
Step 3: Connect to the Oxla database using psql
You can connect to Oxla in several ways, but for simplicity, we'll use the psql CLI to connect to oxla_node_1.
By default, Oxla uses oxla as both the username and password.
When connecting, make sure to specify the correct port for the node:
5432for oxla_node_12543foroxla_node_23544foroxla_node_3
Here's how to connect to the first node:
psql -h localhost -p 5432 -U oxla oxlaCreate and query a table
Now that your Oxla cluster is running, let’s create a table, insert some data, and run a query. This example demonstrates how Oxla leverages MinIO’s object storage to distribute and manage your dataset across nodes.
Step 1: Create and populate the film table
DROP TABLE IF EXISTS film;
CREATE TABLE film (
  title text NOT NULL,
  length int,
  rating text

);

INSERT INTO film(title, length, rating) VALUES
  ('ATTRACTION NEWTON', 83, 'PG-13'),
  ('CHRISTMAS MOONSHINE', 150, 'NC-17'),
  ('DANGEROUS UPTOWN', 121, 'PG'),
  ('KILL BROTHERHOOD', 54, 'G'),
  ('HALLOWEEN NUTS', 47, 'PG-13'),
  ('HOURS RAGE', 122, 'NC-17'),
  ('PIANIST OUTFIELD', 136, 'NC-17'),
  ('PICKUP DRIVING', 77, 'G'),
  ('INDEPENDENCE HOTEL', 157, 'NC-17'),
  ('PRIVATE DROP', 106, 'PG'),
  ('SAINTS BRIDE', 125, 'G'),
  ('FOREVER CANDIDATE', 131, 'NC-17'),
  ('MILLION ACE', 142, 'PG-13'),
  ('SLEEPY JAPANESE', 137, 'PG'),
  ('WRATH MILE', 176, 'NC-17'),
  ('YOUTH KICK', 179, 'NC-17'),
  ('CLOCKWORK PARADISE', 143, 'PG-13');
Step 2: Query the film table
SELECT * FROM film;This query will return all rows from the film table stored in your MinIO bucket:
       title         | rating | length
---------------------+--------+--------
 ATTRACTION NEWTON   | PG-13  |     83
 CHRISTMAS MOONSHINE | NC-17  |    150
 DANGEROUS UPTOWN    | PG     |    121
 KILL BROTHERHOOD    | G      |     54
 HALLOWEEN NUTS      | PG-13  |     47
 HOURS RAGE          | NC-17  |    122
 PIANIST OUTFIELD    | NC-17  |    136
 PICKUP DRIVING      | G      |     77
 INDEPENDENCE HOTEL  | NC-17  |    157
 PRIVATE DROP        | PG     |    106
 SAINTS BRIDE        | G      |    125
 FOREVER CANDIDATE   | NC-17  |    131
 MILLION ACE         | PG-13  |    142
 SLEEPY JAPANESE     | PG     |    137
 WRATH MILE          | NC-17  |    176
 YOUTH KICK          | NC-17  |    179
 CLOCKWORK PARADISE  | PG-13  |    143
(17 rows)
By now, you've successfully deployed a 3-node Oxla cluster using Docker, backed by MinIO's S3-compatible object storage. You've connected to the database, created a table, and run your first queries — all distributed seamlessly across multiple nodes.
This setup demonstrates how easy it is to combine Oxla’s scalable, resource-efficient architecture with flexible, self-hosted storage solutions like MinIO. Whether you're testing locally or planning for production, this foundation makes it simple to scale your analytics workloads while keeping infrastructure costs under control.
While this guide used MinIO as an example, Oxla can integrate with any S3-compatible object storage provider — whether self-hosted, on-premises, or in the cloud. This flexibility lets you tailor your storage setup to your performance, reliability, and cost requirements.